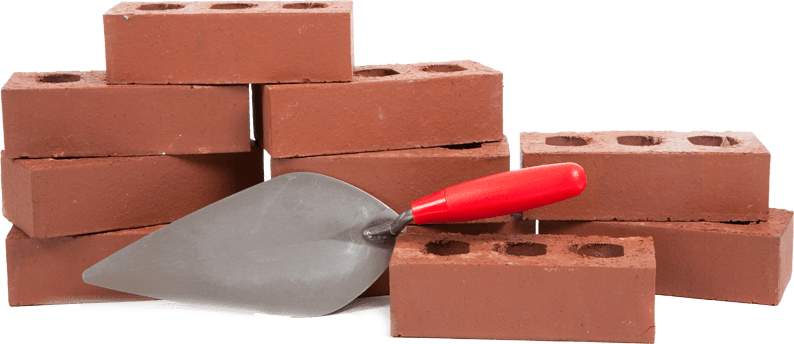
Installing a brick path can add beauty to your outdoor living space. Your guests are sure to feel at home and impressed with your beautiful landscape and lovely walkways. You can opt for a rustic brick path or a more streamlined walkway. Depending on the design and the size of the walkway, installing a brick path can be a time-consuming process. If you’re ready to take on this project, take a look at these 15 steps on how to lay a brick path we’ve outlined for you.
Step 1: Draw a Sketch of your walkway
Start with a plan, layout, and design on where you would like to have your walkway. You may go with a straight walkway or other fancier designs. You can also use a variety of bricks and sizes.
Step 2: Lay out a rough design on your lawn
You can use set-out paint, rocks or a garden hose to lay out the area for your pathway. Straight walkways are easier to install since pathways with a curved design need more talent with cutting the bricks.
Step 3: Mark the pathway
You can use stakes to mark your working area without moving the original lines. Tie colored strings from each stake to make straight lines that will also be used as your guide when digging.
Step 4: Work on your spade skills
Cut through the grass and dirt using a spade, creating straight vertical lines. Dig down up to about 8 inches into the ground making sure that the depth of your walkway is consistent with the entire path.
Step 5: Use a shovel
With a rounded shovel, remove the grass and dirt from inside the walkway area.
Step 6: Level the ground for the pathway
While the pathway needs to be level, the ground needs to slope slightly outward from the brick walkway. This will be your runoff route for rain and snow.
Step 7: Add gravel
Layer 4 inches of gravel inside the walkway bed making sure you spread it out evenly. Then, tamp it down.
Step 8: Define the edges of the pathway
Using plastic forms inside the walkway area, define the edges of the pathway. This will be a permanent support for your bricks, which should fit within these forms. The plastic forms will be flexible enough for any curves in the walkway border.
Step 9: If you plan to border your pathway
Stand bricks or pavers edge to edge on the borders of the walkway. If you’re going borderless, skip this step.
Step 10: Fill your walkway bed with stone dust
Stone dust will work great under your bricks. It will act like concrete once you water it and it dries. You need about 1 inch of stone dust on the walkway bed.
Step 11: Tamp and level the stone dust
Also, check the walkway every few feet with a level to be sure you are maintaining the appropriate height and curve.
Step 12: Place the brick or pavers over the stone dust
You can use a rubber mallet to tamp each brick in its proper place. You may need to cut some of the bricks to fill in the spaces.
Step 13: Add another layer of stone dust
After you lay all your bricks or pavers, cover the brick with the second layer of stone dust.
Step 14: Sweep the stone dust in between each brick and in all the cracks
Make sure that you sweep stone dust along the brick edges using a soft broom.
Step 15: Seal the bricks in place
Hose some water all over the brick pathway to secure and seal the bricks in the stone dust. This will become hard over time, which will hold the bricks in place.
Conclusion
Laying a brick pathway needs to be accurate and precise. You need to be determined and committed to complete the project all throughout. When in doubt about your skills and experience, you can always call a professional brick installer. They are efficient, fast and will save you time and money in the long run with top-quality materials and high-quality workmanship.